Selecting the optimal hydration system remains a fundamental decision for long-distance trekkers seeking to balance physiological needs with gear efficiency. While traditional vessels offer simplicity, modern reservoirs facilitate a 20% increase in fluid intake by enabling continuous access without interrupting the hiking stride. The central conflict between hiking hydration bladder vs water bottle often centers on the trade-off between seamless accessibility and the logistical ease of maintenance.
This analysis evaluates the technical performance of both systems across load distribution, durability, and sanitation protocols to help you configure a reliable kit for your next expedition.
- Hiking Hydration Bladder vs Water Bottle: Flow and Load Distribution
- Structural Integrity and Sanitation Protocols
- Environmental Variables and Filtration Efficiency
- Tactical Gear Configurations and Lifecycle Costs
Hiking Hydration Bladder vs Water Bottle: Flow and Load Distribution
Hydration bladders increase water intake by 20% through constant straw access, maintaining steady trekking momentum. Central reservoirs stabilize the center of gravity, whereas dual bottles offer better lateral balance. This physical ease of drinking directly dictates your sustained hiking pace.
Accessibility and Hiking Pace
Hands-free sipping prevents frequent, momentum-killing stops. Constant access to a tube keeps hikers moving without breaking their stride. This efficiency is vital for high-exertion performance.
Side-pocket bottles require slowing down or stopping to reach. Such interruptions break your flow, especially on easy hikes in LA County. Momentum is harder to regain on steep trails.
Micro-hydration offers a psychological edge. Drinking small amounts frequently prevents a heavy stomach. It ensures consistent energy levels throughout the day.
Weight Distribution and Pack Ergonomics
Placing 2 to 3 liters against the spine keeps the load close to the body. This central reservoir improves overall stability. It is essential for technical terrain.
Uneven water levels in side bottles cause lateral balance issues. This leads to shoulder strain and forces core compensation. Consistent weight management prevents fatigue.
Some bags compress bladders, hindering gear access. “A poorly balanced pack is the fastest way to turn a scenic trek into a grueling chore for your lower back.”
Structural Integrity and Sanitation Protocols
While accessibility dictates your pace, the long-term reliability of your gear depends on how well it withstands trail abuse and post-hike cleaning.
Puncture Vulnerability and Field Repairs
Metal or hard plastic vessels are nearly indestructible. Conversely, flexible reservoirs risk punctures from keys or sharp debris. A bladder failure is catastrophic, as leaks instantly soak all internal dry gear.
Flexible reservoirs risk punctures from sharp trail debris. A leak can instantly soak all internal dry gear.
Carry tenacious tape for leaks and zip ties for broken valves. These quick fixes are essential for remote areas like Mount Baldy.
Sanitation Routines to Prevent Bacterial Growth
Wide-mouth bottles are easy to scrub. However, hydration hoses require specialized brushes to reach every corner. Use a reservoir hanger during the off-season to prevent moisture from fueling black mold growth.
Freeze the bladder to stop mold growth; use lemon juice for plastic odors; store with a paper towel inside to absorb residual moisture.
Effervescent tablets sanitize systems without scrubbing. To further maintain hygiene, consider these methods:
- Freezing the bladder to stop mold
- Using lemon juice for odors
- Storing with a paper towel inside
Environmental Variables and Filtration Efficiency
Beyond maintenance, the external environment, from freezing summits to murky water sources, drastically changes which system performs best.
Sub-Zero Reliability and Hose Insulation
Water in the tube freezes quickly in sub-zero air. This renders the entire bladder useless despite the liquid reservoir. The system fails when hydration is most needed.
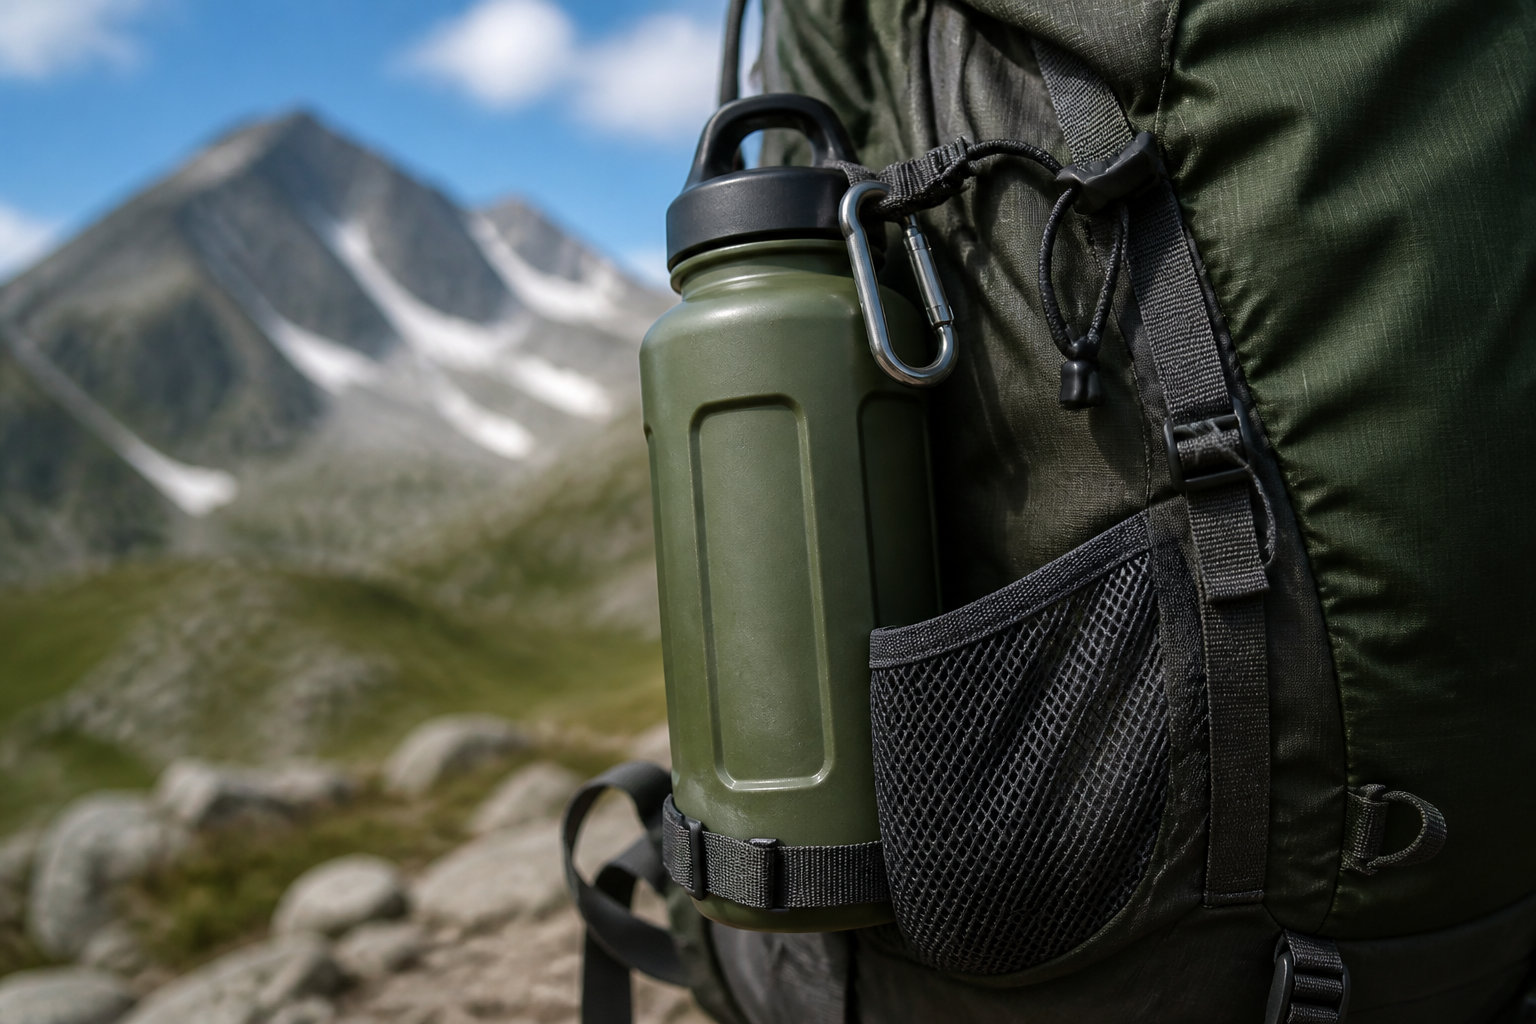
Recommend wide-mouth bottles for winter. They are easier to open with gloves. Store them upside down to prevent the cap from freezing shut first.
Insulated hose sleeves help but aren’t foolproof in extreme cold. They add bulk without flow guarantees.
“In the dead of winter, a simple plastic bottle is often more reliable than the most advanced hydration system.”
Filtration Compatibility and Refilling Efficiency
In-line systems allow you to drink directly from the bladder. It saves time at the water source significantly. This setup prioritizes continuous forward movement.
Bladders often require unpacking the entire bag to reach the sleeve. Bottles are swapped in seconds without disturbing your gear organization. This efficiency is vital for pace.
| Feature | Hydration Bladder | Water Bottle |
|---|---|---|
| Refill Speed | Slow | Fast |
| Filtration Ease | In-line | Manual |
| Visibility | Hidden | Clear |
| Cold Weather | Risk | Reliable |
| Durability | Vulnerable | High |
You always know how much is left in a bottle. Bladders stay hidden, making volume management difficult.
Tactical Gear Configurations and Lifecycle Costs
Choosing between these systems isn’t just about trail performance; it’s a financial and tactical decision for your long-term hiking kit.
Hybrid Systems for Trail Redundancy
Adopt a dual-system approach. Use a bladder for plain water and a small bottle for electrolytes. This prevents flavor contamination.
Redundancy ensures safety during epic day hikes on the Pacific Crest Trail near Los Angeles. A backup vessel protects you if the reservoir leaks.
Soft flasks are excellent additions. These lightweight vessels fit shoulder straps perfectly. They offer the best of both worlds.
Economic Comparison of Reusable vs Disposable Vessels
High-end reservoirs cost $40 and last three seasons. Cheap bottles cost $2 and are surprisingly durable. Calculate long-term costs carefully.
Reusable systems reduce plastic waste over time. However, complex bladder manufacturing has a higher footprint. Environmental impact depends on longevity.
Bite valves need annual replacement. Hard bottles often last a decade. Review these core lifecycle metrics for your gear selection:
- Initial purchase price
- Maintenance kit costs
- Average lifespan in miles
- Environmental footprint
Optimal trail performance requires balancing hydration access with gear durability. While bladders ensure steady momentum via hands-free sipping, rugged bottles offer superior sanitation and volume visibility. Master your hiking hydration bladder vs water bottle strategy by employing hybrid systems for redundancy, ensuring peak physical endurance on every technical ascent.
FAQ
Does using a hydration bladder improve hiking pace compared to water bottles?
Yes. A hydration bladder facilitates a continuous hiking rhythm by providing hands-free access to water via a suction tube. This eliminates the need to stop or remove a backpack, which is often required to reach side-pocket bottles. Constant access encourages frequent micro-hydration, maintaining steady energy levels and heart rate during strenuous climbs.
How does water weight distribution affect backpack ergonomics?
Centralized weight is critical for stability. A hydration bladder, typically holding 2 to 3 liters, is positioned against the spine, keeping the center of gravity close to the body. Conversely, dual water bottles can cause lateral imbalances if levels become uneven, leading to shoulder strain. Proper placement near the back minimizes leverage forces and prevents muscle fatigue on technical terrain.
Are hydration bladders more prone to damage than hard bottles?
Hydration bladders are generally less robust than metal or hard plastic bottles. While constructed from durable TPU, flexible reservoirs are susceptible to punctures from sharp objects or internal gear pressure. In contrast, metal bottles are nearly indestructible. A bladder failure can be catastrophic, potentially soaking all internal gear, whereas bottles offer superior structural integrity in rugged environments.
What is the most effective way to clean and maintain a hydration system?
Sanitation requires a systematic approach, particularly for the tube and bite valve where bacteria proliferate. While wide-mouth bottles are easily scrubbed with a brush, bladders require specialized kits and drying hangers to ensure airflow. Utilizing mild soap, vinegar, or cleaning tablets is recommended. For persistent odors or bacterial prevention, storing a dry bladder in the freezer is a highly effective tactic.
Can hydration bladders be used effectively in freezing temperatures?
Hydration bladders are frequently discouraged for sub-zero conditions because water trapped in the delivery tube and bite valve freezes rapidly, rendering the system useless. In extreme cold, wide-mouth plastic bottles are more reliable. Storing bottles upside down in insulated sleeves prevents the cap from freezing shut first, ensuring water remains accessible throughout the trek.
How do bladders and bottles compare regarding water filtration and refilling?
Water bottles offer superior efficiency for refilling and manual filtration, as they can stand independently and do not require unpacking the bag. Hydration bladders often necessitate removing the entire reservoir from the pack, which is time-consuming. However, bladders are compatible with in-line filtration systems, allowing hikers to drink directly from untreated sources while moving.
What are the long-term cost differences between these hydration systems?
Water bottles are the most economical choice, with high-quality non-insulated versions costing between $13 and $20 and lasting for years. Hydration reservoirs require a higher initial investment of $30 to $50 and involve recurring costs for replacement bite valves, hoses, and specialized cleaning kits. While bladders offer high utility, bottles provide a lower total lifecycle cost and greater durability.